Gallery
Applying Decals Using Johnson's Klear
by Neil Howard
For an introduction to Johnsons Klear and its many uses in modelling, take a look at Howard Freeman's article here on the site.
Step 1:
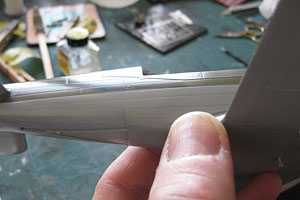
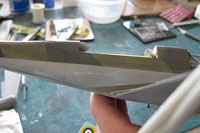
Decals will always sit better on a glossy surface. Here you see the MPM Fulmar ready for its decals. I've applied a gloss coat (in this case a mix of 50:50 gloss acrylic varnish and Klear applied by airbrush). Once dry I then polish the surface with a nail buffer to increase the gloss finish.
 |
Step 2:
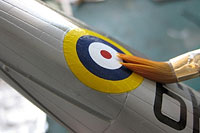
Now apply some Klear with a flat brush. Don't splash it on as it's as thin as water and too much will pool and form runs. I then smooth out the Klear with a flat brush using gentle pressure.
 |
 |
Step 3:
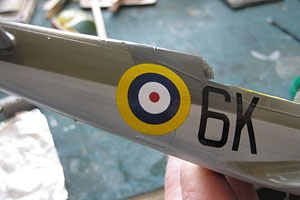
Now apply the decals sliding them into the Klear from the backing paper. I move them into place with the aid of the brush and then gently press down with the same flat brush once in position. The aim is to squeeze our any surplus Klear from beneath the decal.
 |
Step 4:
Allow the decals to sit and start to dry for 10 minutes or so, less if the weather is warm. As the Klear dries, it will pull the decal down onto the surface of the model. Sometimes, the decal will wrinkle up slightly, but we can deal with this. Moisten a flat brush in water, and gently smooth out the wrinkles from the centre of the decal. Then apply a thin coat of Klear over the top to seal them in.
 |
 |
Step 5:
That's it! The decals should have pulled down into the surface detail, with no silvering, and an added bonus of already being clear coated for any washes or weathering techniques.
 |